Blacksmith’s Forge Meets 3D: Medival For Tinkercad In Action

In the workshop world where iron meets interface, Medival For Tinkercad bridges centuries of craft with modern design tools. This approach treats the forge not just as a product of metal and heat, but as a set of shapes and flows that can live inside a CAD workspace. For learners and makers, Medival For Tinkercad offers a clear pathway from the anvil to an accurate digital model.
By studying the forge’s silhouette—its hearth, bellows, anvil, and rack—you can translate function into form, then refine it with precise measurements and clean geometry. The idea behind Medival For Tinkercad is to keep the storytelling intact while unlocking reproducibility and sharing in a 3D printing pipeline.
Medival For Tinkercad: A Concept Bridge
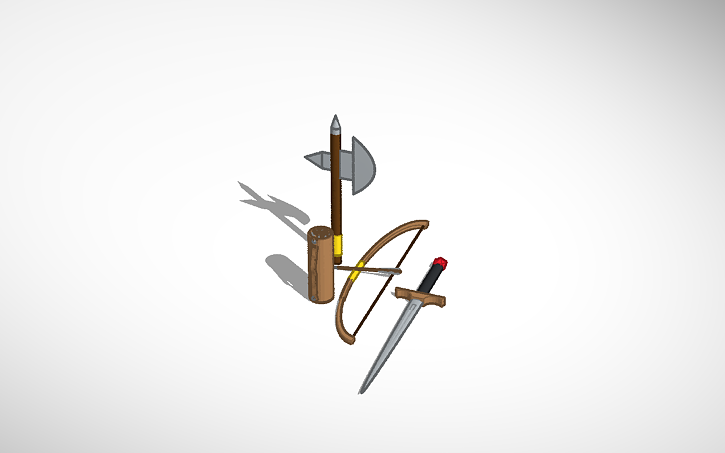
With this approach you frame a complex workshop scene as a collection of simple primitives: a rectangular hearth, a cylindrical bellows pipe, wedge-like doors, and a curved anvil horn. Medival For Tinkercad guides you to think in blocks, then blend those blocks into a cohesive, printable sculpture that still conveys the forge’s history and purpose.
Key Points
- Medival For Tinkercad blends historical craft with modern CAD workflows, making a narrative-friendly model.
- Start with a strong base: a forge hearth and anvil establish scale and grounding for the scene.
- Use grouping and alignment tools to maintain symmetry in doors, racks, and tool holders.
- Texture surfaces with careful bevels and chamfers to evoke weathered metal without complex textures.
- Plan for 3D printing early by checking wall thickness, clearances, and supports for overhangs.
Practical Workflow: From Sketch to STL
Begin with a quick sketch of the forge layout, then translate each element into basic shapes in Tinkercad. Use Medival For Tinkercad as a check on scale, ensuring that the bellows, chisel rack, and anvil fit together in believable proportion. Group related parts, duplicate feature, and apply hinge-like connections for interactive features that could be 3D printed as modular pieces.
Export your model as an STL, run a quick slicer check, and adjust wall thickness or overlap as needed. The goal is to keep the digital design faithful to the forge theme while ensuring it prints cleanly and post-processes well.
What is Medival For Tinkercad, and who should explore it?
+Medival For Tinkercad is a design concept that marries the aesthetic and function of historical blacksmithing with the accessibility of Tinkercad. It’s ideal for educators, students, hobbyists, and any maker curious about translating a forge’s form into scalable 3D models suitable for printing or interactive demos.
Which Tinkercad tools are most useful for recreating a forge scene?
+Leverage basic shapes (boxes, cylinders, wedges) and the align/scale tools to construct the hearth, anvil, and tool racks. Use the Group function to assemble parts and the Duplicate feature to reproduce repeated elements like rods or spear-like tongs. The Medival For Tinkercad mindset keeps the design modular and readable.
What tips help ensure the forge model prints well?
+Consider wall thickness, add gentle chamfers to edges to reduce sharp corners, and plan for support structures where necessary. Keep overhangs modest and avoid intricate textures that printers can’t capture. If a hinge or moving part is part of the concept, design it as a separate piece to print and assemble later.
Can Medival For Tinkercad be used in classroom projects?
+Yes. It provides a structured pathway from storytelling to geometry, helping students practice measurement, symmetry, and problem-solving. Teachers can assign a forge scene, then evaluate models on printability and legibility of the medieval narrative in the final piece.